

Azure AD – Keep it clean and tidy
There are several reasons for keeping your Azure AD nice and tidy. Locking down features, removing unused objects...
List all users and their manager
Sometime we need to gain a list of all users and their managers so the managers can get...
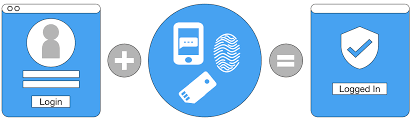
How do I know all my users are enabled for and using MFA?
More and more organizations is taking advantage of using MFA for their users and there is no reason...
SharePoint Online PowerShell module
To install, update og uninstall the SharePoint Online PowerShell module there are some few simple PowerShell commands you...
Block AdHoc subscriptions in Office 365
To block users from creating trial and adhoc subscriptions for Office 365 services or even PowerPlatform services you...
Change language – Office 365 Mailbox
To change the Language for a Office 365 mailbox (Exchange Online), run the following commands: $O365Session = New-PSSession...
Convert from user mailbox to shared mailbox
From time to time i run into a little problem with the Office 365 Admin Center when trying...
Detect and uninstall hotfixes
There seem to be a broken patch KB3159398 which was released this Tuesday, it breaks GPO processing which can...
Enable/disable Office 365 serviceplans
I was asked today how you can disable and enable individual features included in an Office 365 license...